Photo
Recipe
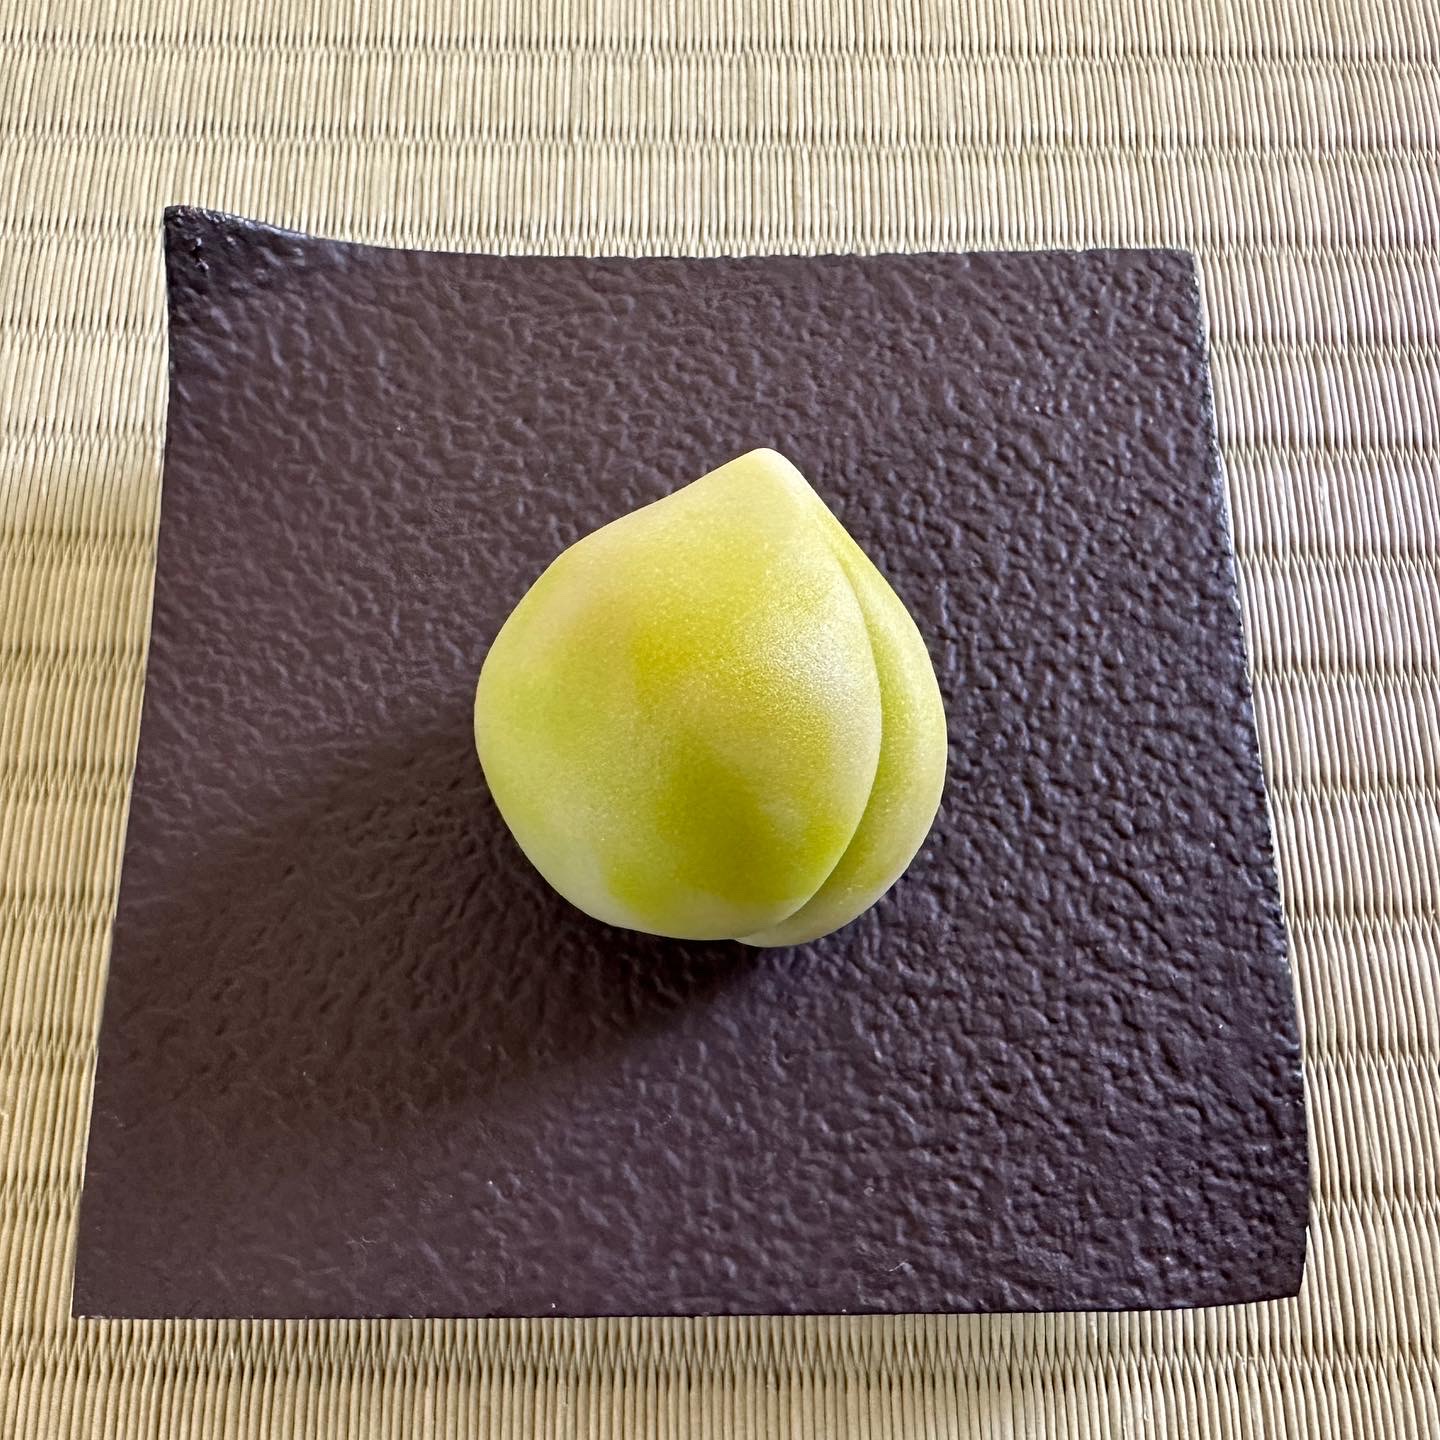
For reference:
- Used this video’s coloring https://youtu.be/L-eKtMrqIVU
- With wagashi-lady’s shaping https://youtu.be/0agJqEZAqd4
Used basic konashi recipe.
- 18g naka-an
- 22g soto-an
For the exterior:
- Half green
- (with a small part taken off to make yellow)
- Half white
- Make the green, then peel some off and make a tiny chunk of yellow for the base.
- Note: I had a really hard time getting a good yellow color. May be better to start with white, or just skip entirely.
- Add the yellow dot to the bottom of the green, then make a uniform ball, keeping the yellow dot in place.
- I tried to “blur” the yellow, and that ended up not great. Better to keep it as just a distinct dot imo.
- Wrap the green with the white, just like you would generally to wrap naka-an with soto-an. At the end, it will look very white.
- With the now-layered ball, wrap that around the naka-an.
Then for shaping:
- Pinch a tiny bit on the top to make a point
- Using a hera, deeply impress a line (sharp side)
- Then poke the butt
Notes:
- Getting a consistent color with the layered soto-an was really hard. Need to work on that. To start, better to skip the yellow.
- When flattening it out, the edge of the soto-an is mostly just white (because that’s how concentric circles work), which means that the base ends up being mostly just white. Maybe fix this somehow?
- Really should be made the day of. The konashi split after 24 hours, and that was even kept very moist.